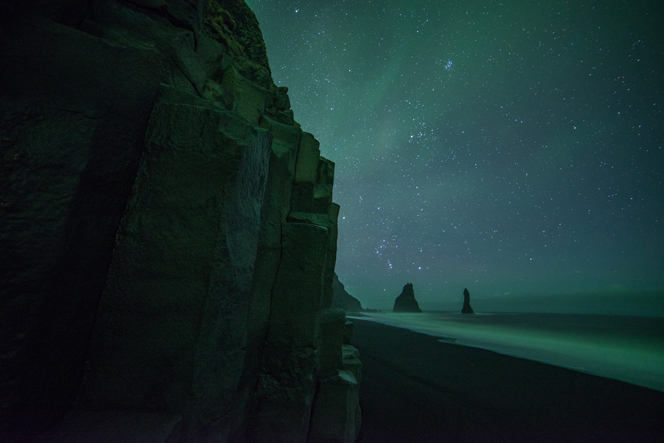
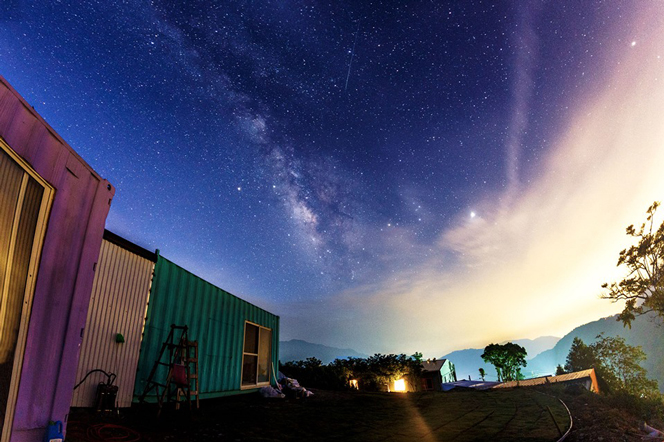
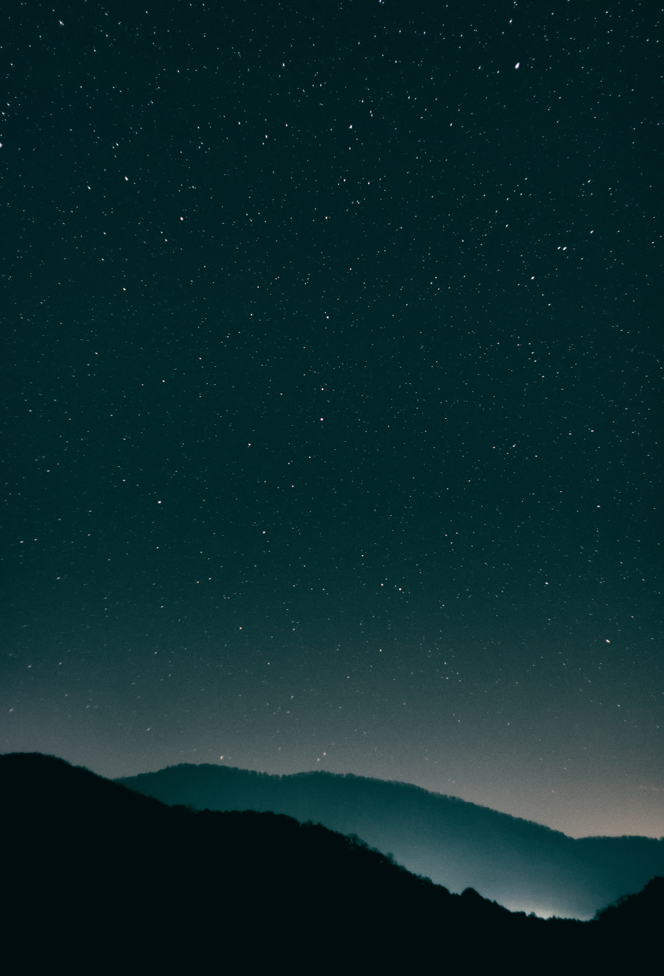
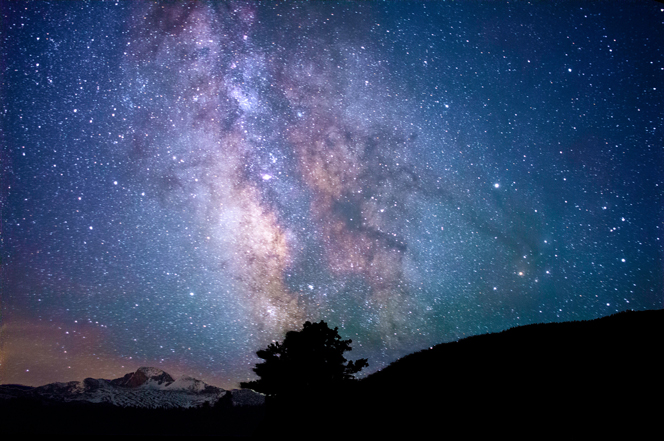
Who doesn’t love starry nights. They’re just beautiful aren’t they! But capturing these special moments on camera is a totally different ball game. Don’t worry we’ve done the research for you. We’ve formulated the foolproof settings for you to shoot stars and the milky way like a pro!
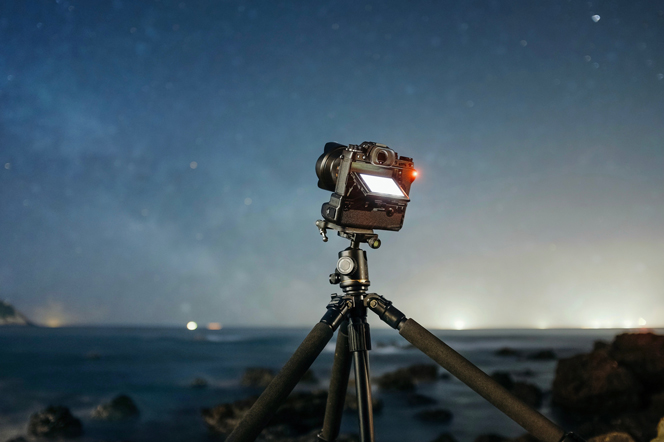
Things You’ll Need:
- Camera
- Tripod
The Magical Settings
Here are the magical setting everyone is here for. Let me assure you, it has been tried and tested and it’s 100% foolproof. However, do note that this type of photography will not work with light pollution. This means you would have to be in complete darkness, the best would be out in nature, away from the city lights. Even the moon can be a hindrance to your beautiful shot. So, there’s a little bit of luck is involved as well.
ISO: 3200
Shutter-Speed: 20 seconds
Aperture: F2.8

Identifying Your Stars
Well most of the fun in shooting stars comes from being able to identify the stars. Knowing your astronomy knowledge gets you even more excited when you’re able to capture its beauty on your camera. To get you started, the north star is the brightest star in the sky. The Orion’s belt is probably the most interesting formation and the easiest to spot. Just look for 3 stars in a row in the sky. There are many applications out there to help you spot stars too! Read more about these applications here: https://www.inverse.com/article/47478-5-apps-for-helping-you-view-mars-at-opposition
The Best Camera
When it comes to shooting stars any camera that’s able to shoot in manual mode will do. But if you want to up your game and capture the most out of the beautiful mysterious night skies, a fish-eye lens would do the trick. This wide-angle view will be sure to give you a jaw-dropping image to wow your followers on Instagram.
The Tripod Tips
The most ideal scenario is to have a sturdy tripod so that there is minimal movement allowing you to better capture this magical moment. But not to worry, here are some makeshift tripod tips for you. A tip is to use the timer function on your camera as the shutter release. This helps to minimize the amount of movement in the photo. There’s no longer a reason to not be able to capture these beautiful moments.
ISO
Taking a well-lit photograph, while ensuring the most amount of stars visible. Now that’s a challenge. But don’t worry because that’s when ISO comes into play to save the day. The higher you set your ISO, the more grain you’ll get in your photo. 3200 is the magical number that will keep your photo looking crisp and bright at the same time. Some may feel that 3200 may seem a bit high for your ISO but not to worry, read on and I’ll share some tips on how you can remove the noise in your photo by using adobe Lightroom.
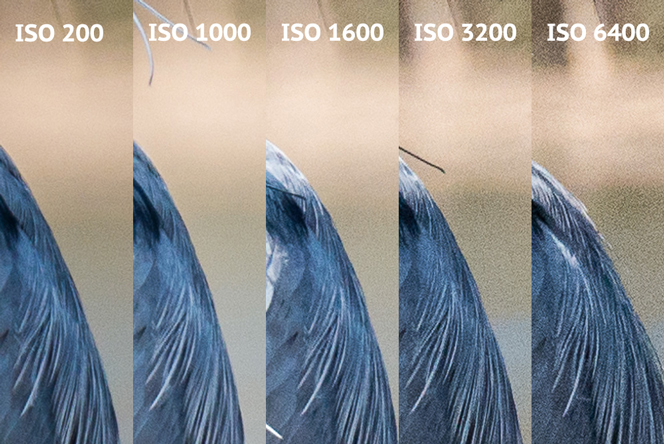
PHOTO CREDIT: http://davemorrisonphotos.com/photo-tutorials/iso-sensitivity-light
Shutter Speed
It is essential to keep your shutter speed at about 20-25 seconds. If your shutter speed is too slow, you’d basically end up with a black blob with a few stars. This is because you’re not letting enough light to pass through the lens, making your picture look too dark. On the other hand, your shutter speed cannot be any longer than 25 seconds, if not it’ll create a blurry looking picture. Why? Well stars are part of nature after all and they are constantly moving. If you’re shutter speed is too long, your image will start to capture the star trails, making your shot looking blurry and unprofessional.

For The Photo Geeks (The 500 Rule)
Let’s all take a step back and remember that the earth is rotating on an axis. This means that we move relative to the stars. This is precisely why when our shutter is open for extended periods of time, we end up with star trails in our picture. While some photographers enjoy the look of them, most find them annoying and unappealing to the eye. So the 500 rule is a math formula for you to find the best shutter speed for your camera.
If you have a full frame camera, use the formula below and it will provide you with the most optimal shutter speed you should be using to capture the magical night sky.
500/focal length = max shutter speed in seconds
However if you have a Crop Sensor Camera, you would need to use a slightly different formula, the 300 rule. A Crop Sensor Camera would mean that you own a APS-C Camera. Use the formula below to create the same stunning image of the night sky.
300/focal length = max shutter speed in seconds
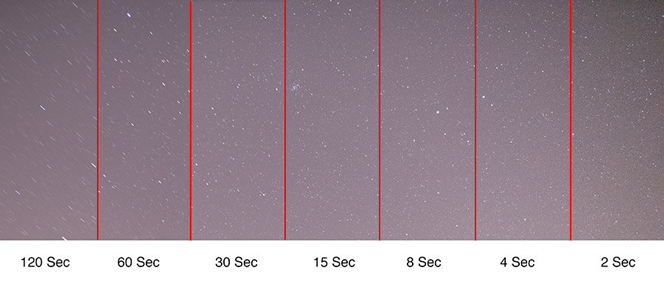
PHOTO CREDIT: https://improvephotography.com/52907/the-best-camera-settings-for-star-photography/
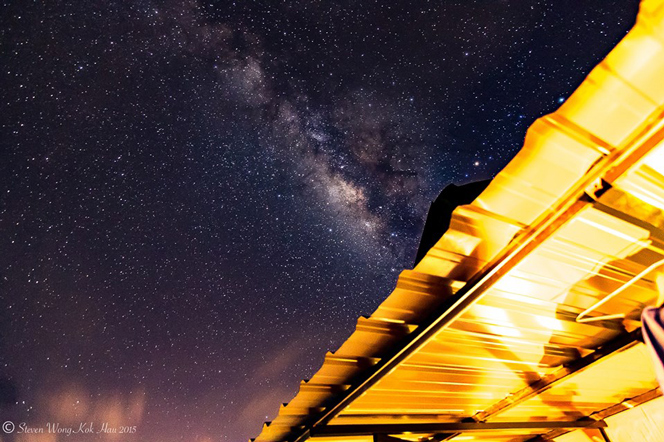
Aperture
The larger your aperture can go the better. But unfortunately for a fish-eye lens, the largest aperture you can get is a F/2.8. But don’t worry it’s good enough to take a stunning photo of the night sky.
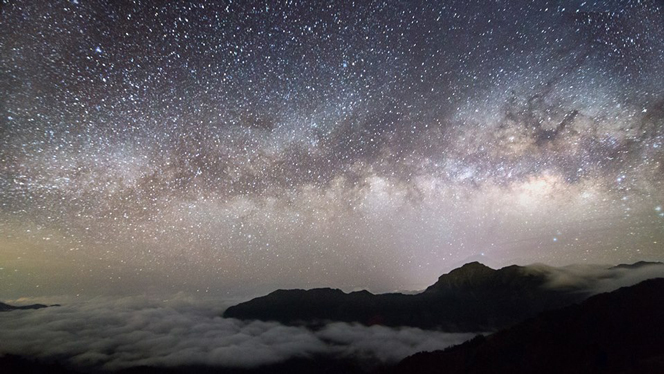
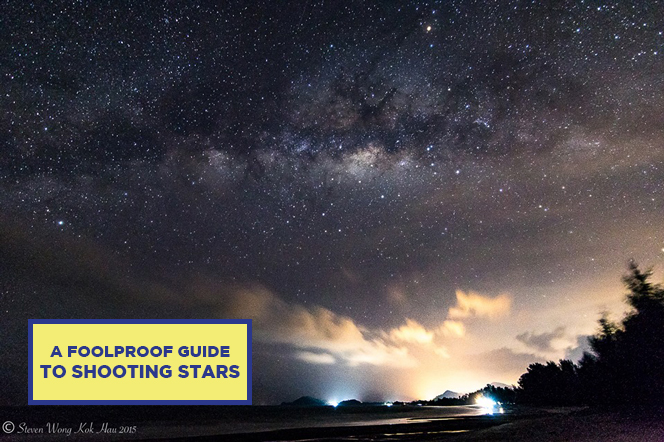
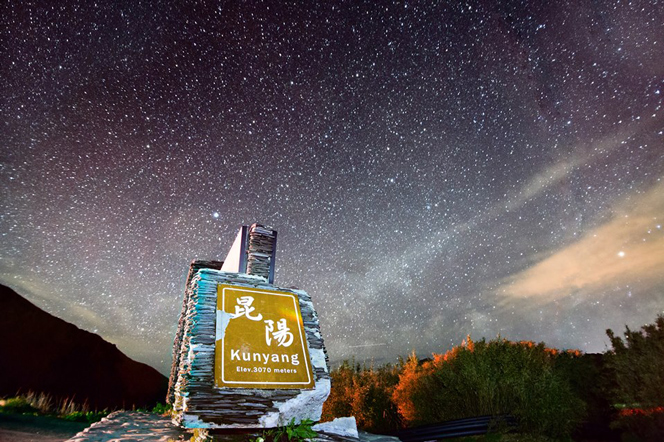
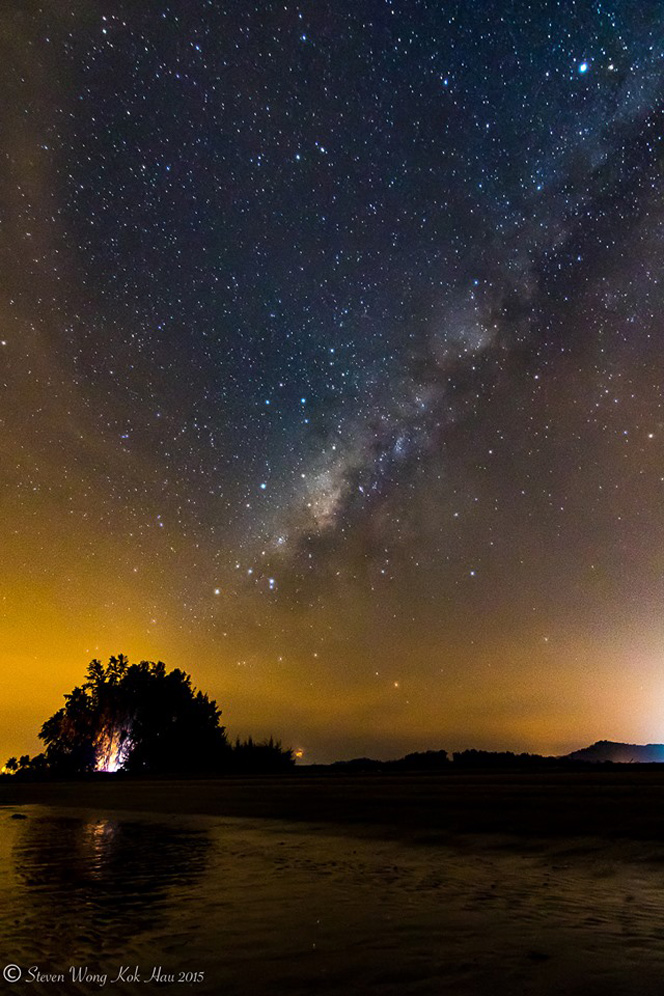
PHOTO CREDIT: STEVEN WONG
Lighting The Foreground (Light Painting)
Ever wondered how photographers get well lit foregrounds while having the beautiful starry night in the background? Well, here’s the secret trick, use a LED flashlight like a paint brush and paint on the object you want to illuminate, while the shutter is open. Think of it like layers, you need to try to get the light as even as possible and you need just the right amount of layers if not the foreground might be overexposed. It’s really about trial and error. If the foreground becomes too bright then you’ve got to reduce the timing for the amount of light being introduced. If it’s too dark then leave the light on the object for a longer amount of time. Sometimes, placing a light cloth or a plastic bag over the light might help to disperse the light a little, allowing the layers of light to be more evenly distributed.
Editing Tips Using Lightroom
There are many things you could do Lightroom, if you have the time, I would encourage you to play around with all the different sliders. It looks hard but trust me just play around with the sliders can you’d be impressed at how straight forward this application really is. Every photo is a little different so it’ll be hard for me to give you a setting that’ll work for every photo. But here are the general things you might want to adjust to make your photo that much better. Now presenting, a crash course in editing a starry night.
Whites and blacks:
Increase your whites and decrease your blacks. This will help the white stars in your photo pop more against the black sky. I usually adjust it to around +50 for whites and -50 for the blacks. But as I said every picture is different you gotta move that slider around and find the one that works best for your photo.
Presence:
Playing around with the presence panel will also help to make the stars look for clean and crisp, giving the picture a more professional feel. I would usually increase the clarity to about +50 and increase the saturation to about +25. This gives the stars more of a pop to them and it also brings out more colors in the night sky that maybe captured in the camera but couldn’t be seen in the picture.
Noise Reduction
Remember how we set the ISO at 3000, yep that would have created a lot of noise in the picture. Here is how you can get rid of that. In the noise reduction panel I like to bring the luminescence slider to around 30 and the color slider to about 25 to get rid of some of that excess noise.
Split Toning
Now this is where the real magic happens. Don’t be fooled at all those beautiful starry night photos out there. You’re sky doesn’t look naturally blue or naturally pink at night. All these magical photos have went through a magical editing process which I’m going to share with you. You can play around with the sliders in split toning to take your photo to the next level. For this there’s really no recipe on making it look good. It’s all about what colors you like and how you want your photo to look like.
Temperature, Tint and Hue
Here’s another magical tip to take your photo to the next level. Play around with the temperature and hue of the photo to get magical colors of the sky. You can make the sky any color you want, maybe a tinge of pink, a purple sky, a blue sky or maybe greenish blue sky. It’s all up to your taste and imagination.
Now you’re on your way to impressing your friends on Instagram with your newly found mad photography skills! If you do take any photos do remember to share your photos with us on Instagram. Just tag us @lifeguide.sg don’t worry we’ll be sure to like your photo!
====================
Credits:
Photographer: @stevenwong.cr2
Writer: @tiffany.quek
